 |
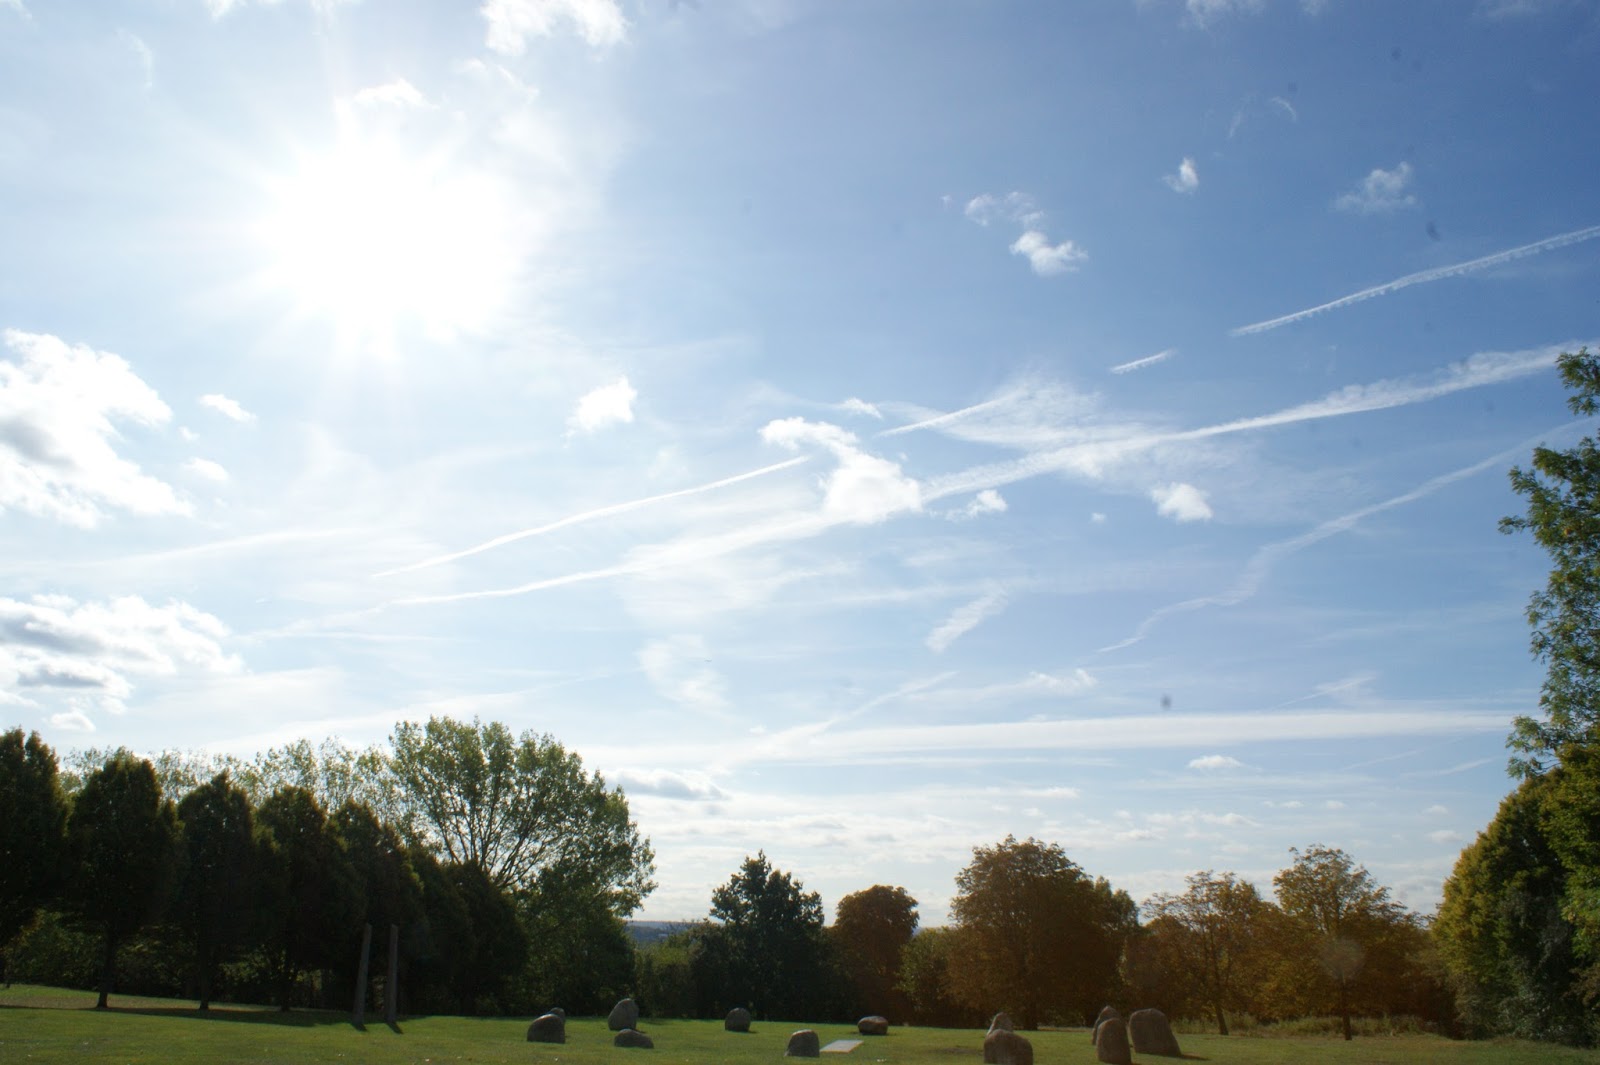
| Example Photograph 1 (with dust spots uncorrected) |
In my opinion, the larger the blemish to be corrected, the more questionable (and difficult) the correction becomes; especially if it occurs over real detail. By questionable I was referring to the ethics regarding removing such a blemish; if the blemish occurred over real detail and was large removing it might change the appearance of the detail and so change a portion of the image. Fortunately, blemishes in the form of dust spots are usually small and are most apparent in ‘bare’ parts of the image.
 |
| Example Photograph 1 (with dust spots corrected) |
This is where flare comes in. It is, in my eyes, similar to a (usually much larger) dust spot but it also often occurs over detail. This means it is both harder to remove and poses greater questions about whether it should be removed in the first place. It can sometimes be desirable/creative/an interesting addition to the overall photo; for me this is providing it does actually add to the image and it isn’t too large. This relates back to blemishes, where the smaller the blemish, the less objectionable it is in my eyes.
I eventually found some examples of dust spots in a couple of early photographs I'd taken and attempted to remove them using my processing software of choice: Adobe Lightroom.
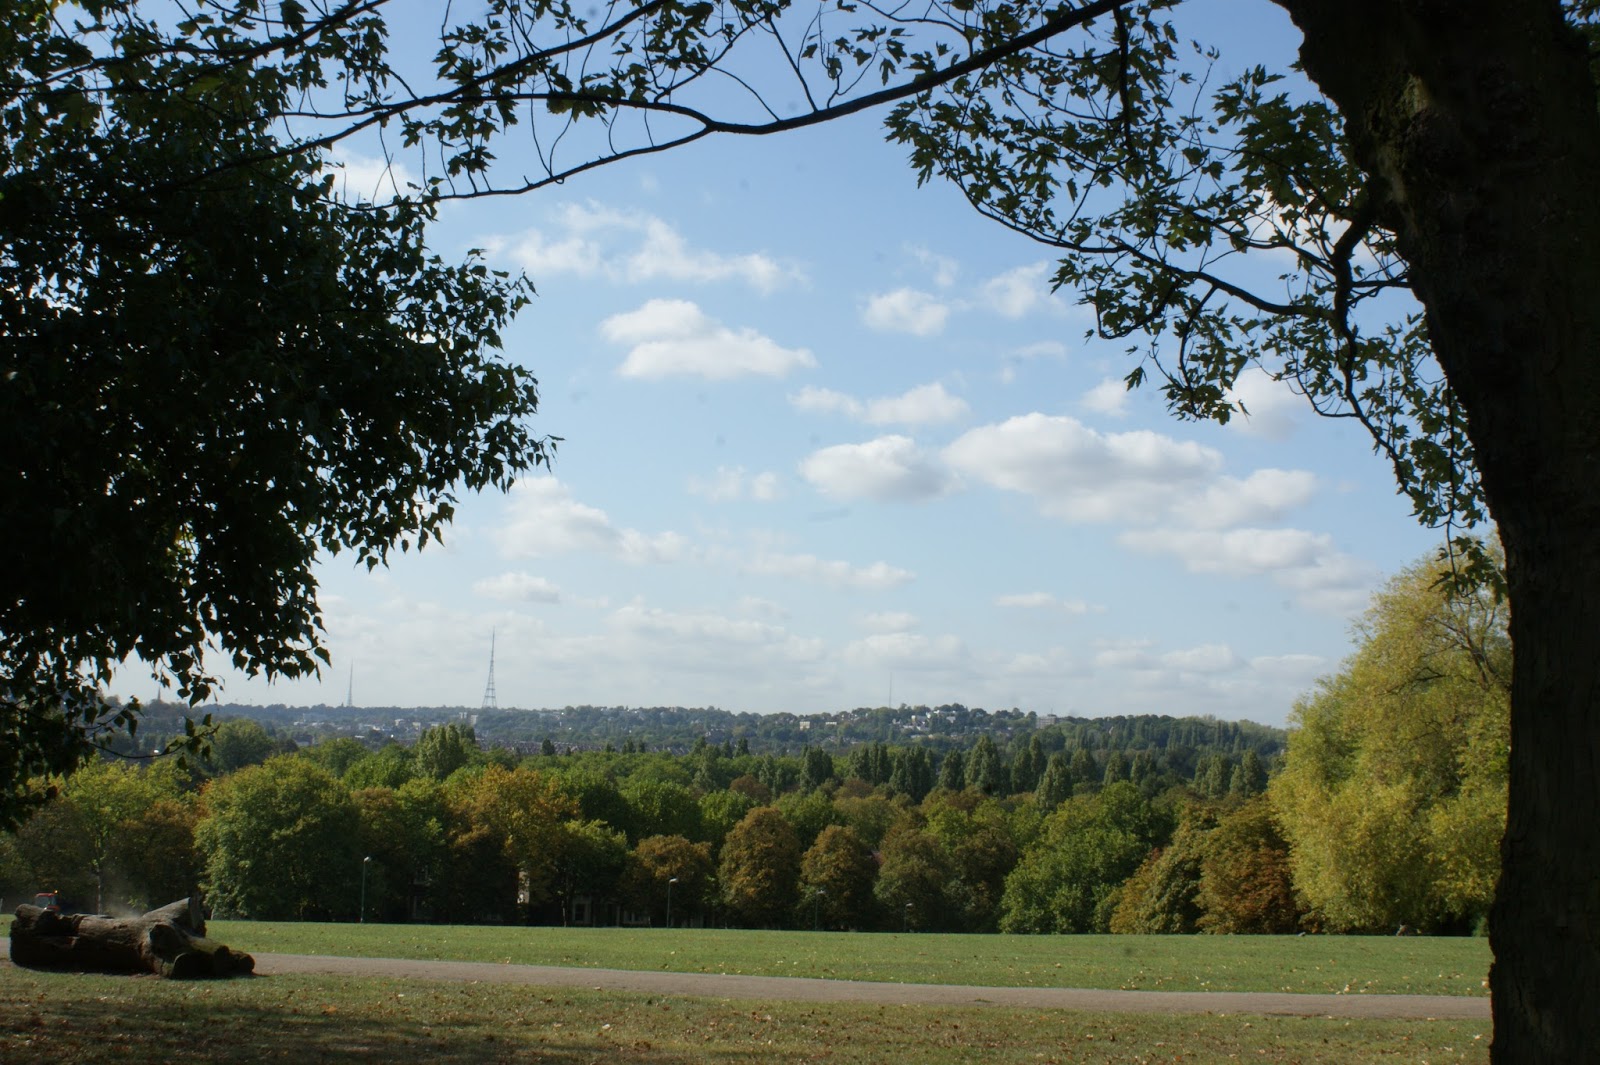 |
| Example Photograph 2 (with dust spots uncorrected) |
The first example I found to be fairly straightforward to remove the dust spots, without affecting the 'aesthetic authenticity' of the photograph and in my opinion the photograph looked much better afterwards and removing the dust spots was acceptable for me. I used Adobe Lightroom's heal spot removal tool to remove the dust spots.
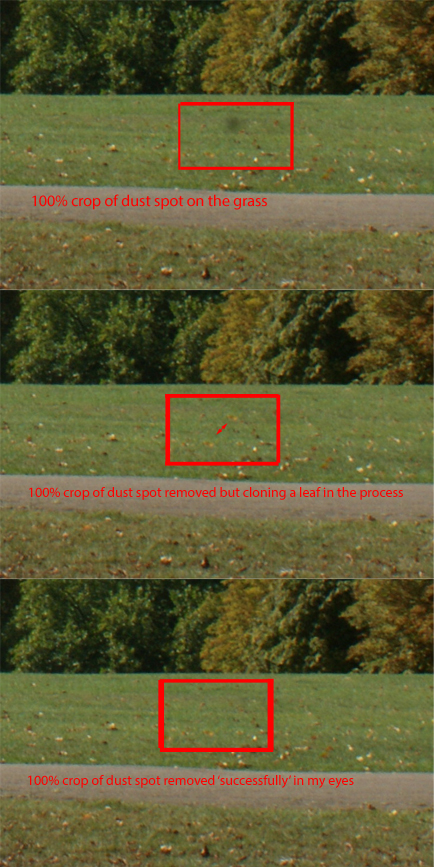 |
| 100% crops of Example Photograph 2 showing how a 'problematic' dust spot was corrected |
I thought the second example photograph looked to be a similarly straightforward image to correct but upon closer inspection I found a larger dust spot that resided over detail. Although the detail only comprised of some grass with a few leaves, the leaves were dotted around and so the task of removing the large dust spot was more difficult. Initially, I was happy with Lightroom's first attempt to replace the dust spot with a similar piece of grass but when I looked closer at what the software had decided to replace the dust spot with, I noticed the replacement was a nearby part of the grass but with a leaf in the selected area. This made it apparent (albeit at 100%) that the leaf had been duplicated because the same leaf appeared in two places close in proximity to each other. So I tried to locate a bare patch of grass and use that as a replacement (Adobe Lightroom allows you to change the location of the replacement simply by dragging on the area chosen as the replacement). This time I felt I was successful in replacing the blemish with another part of the image without obviously cloning that area.
 |
| Example Photograph 2 (with dust spots corrected) |
It still did raise the question: what made that area I used finally less contentious to clone than the first area? I decided it was less contentious for me because it didn't affect the image as a whole and not even at 100%, where the original area the software chose did affect the image at 100%. This was mainly because the bare patch of grass could have occurred anywhere there was grass in the horizontal strip in the photo.
The rest of the dust spots in the sky in the second example were easy to correct for me because they occurred where there was little detail. However, I learnt that it was wise to be wary of potentially obvious cloning of parts of an image when correcting dust spots.
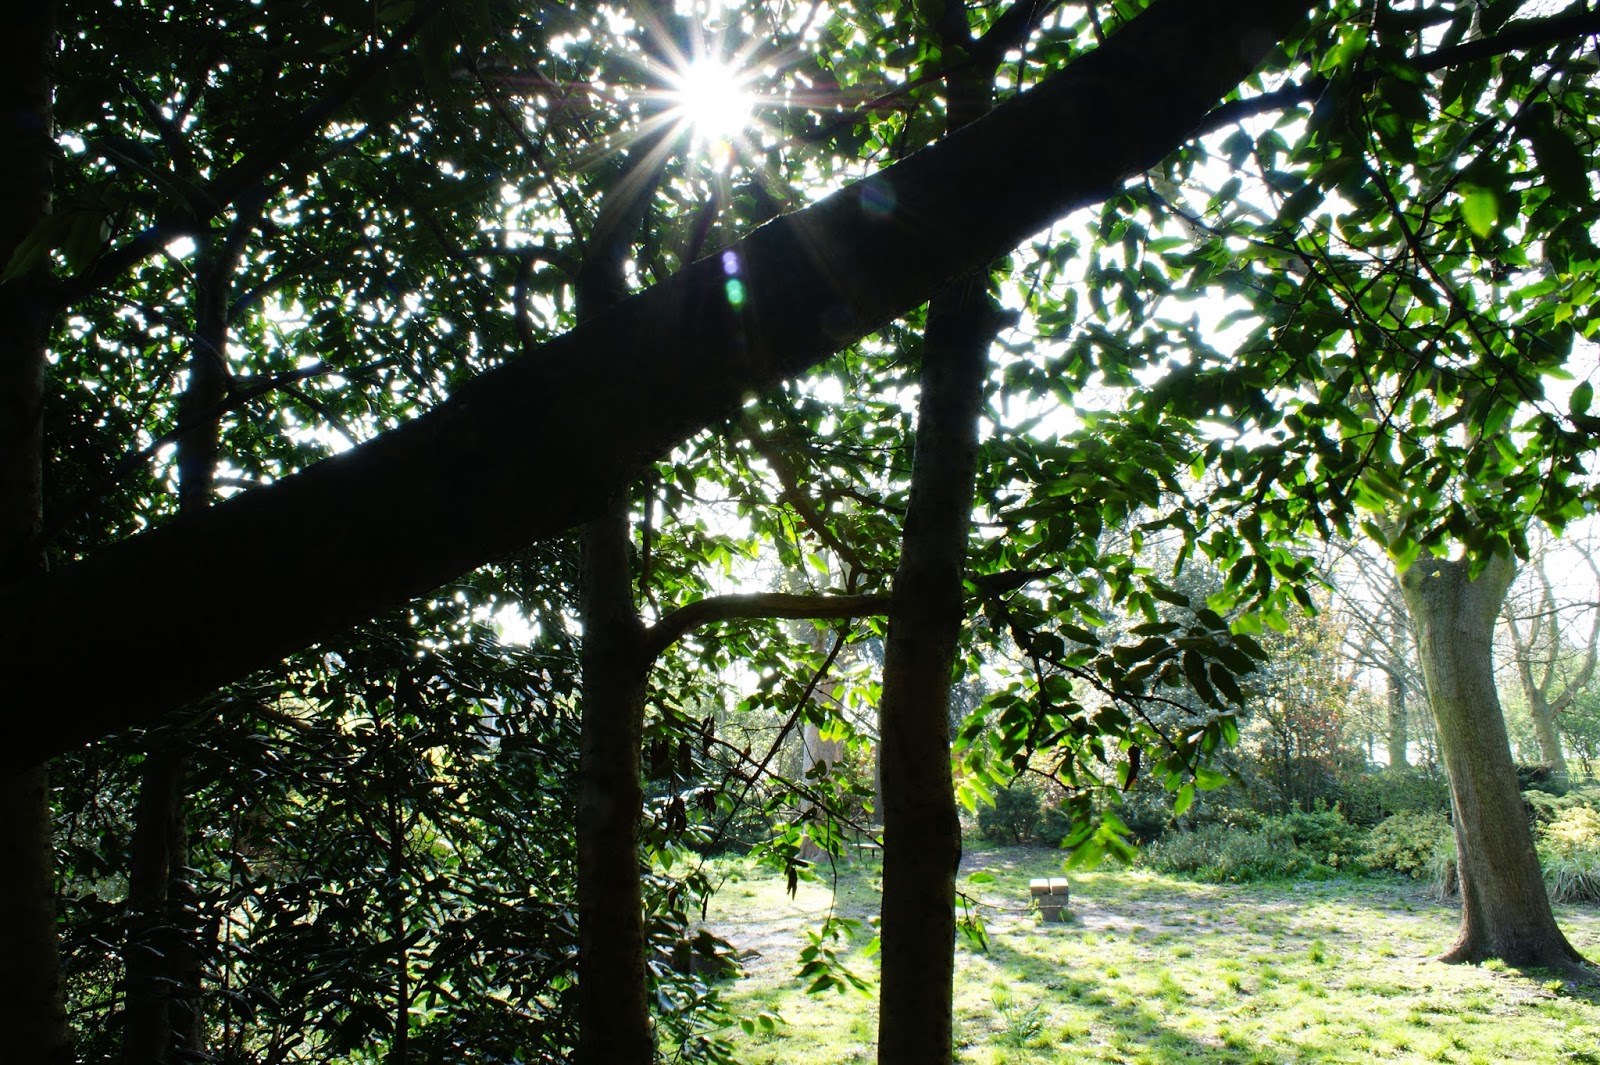 |
| Example Photograph 3 (flare uncorrected) |
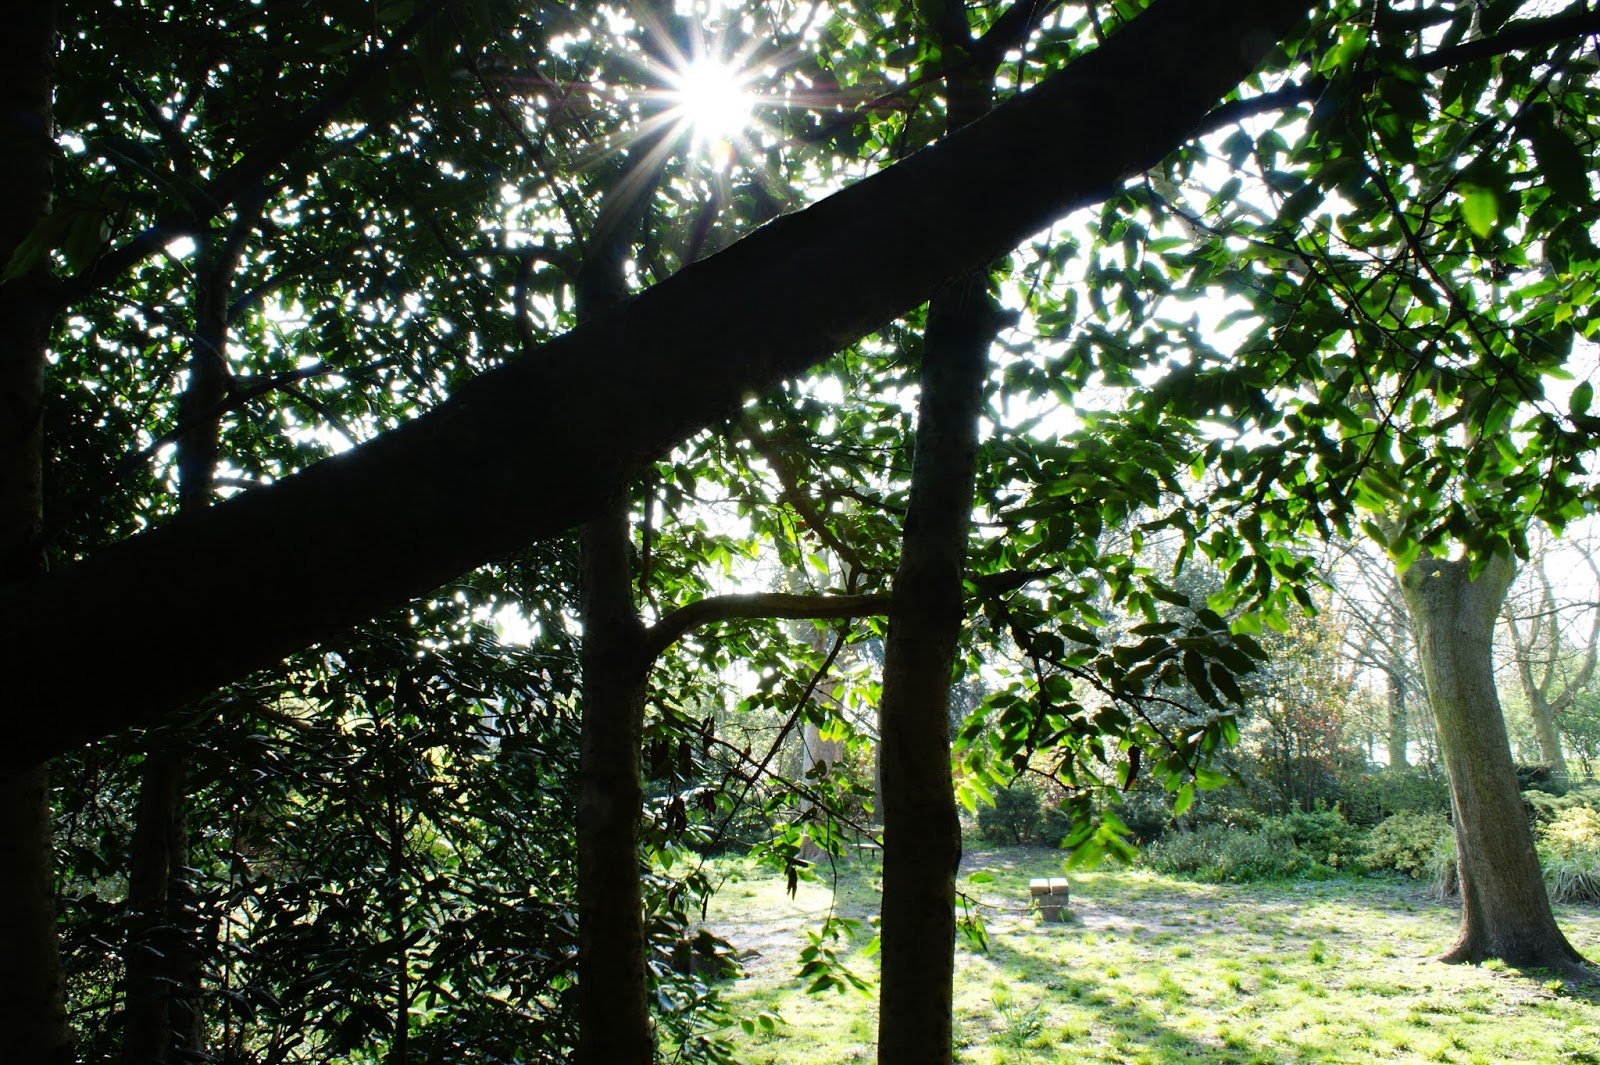
The example I found in my archives for flare was a photograph I liked particularly for its character and interestingly this was mostly due to the flare evident within it. So I was interested to see how my perceptions of the image changed of the photograph after I had completed the steps suggested to remove the flare.
I set the clone stamp tool in Adobe Photoshop Elements' 11 editor to 'Color' first of all as suggested and dragged it carefully over the flare polygons. I found this had the effect of removing the colour in the polygons, which helped a lot in making them less noticeable. Then I set the clone stamp tool to 'Darken' and dragged over the flare polygons in the same manner, which made more of an impact. In fact it apparently completely removed the flare so, for me at least, you wouldn't have known it had been present if you hadn't seen the original.
 |
| Example Photograph 3 (flare corrected) |
My reaction to the flare being removed in this particular photograph was mixed: while taking away some of the character of the photograph, it also in my opinion made it more 'professional-looking'. By professional I was referring to the photograph looking 'cleaner' and more polished. I had no qualms about removing the flare from an ethical point of view - for me it simply meant a feature of the photograph was different, neither good nor bad but changing the character of the image to something else.


No comments:
Post a Comment