 |
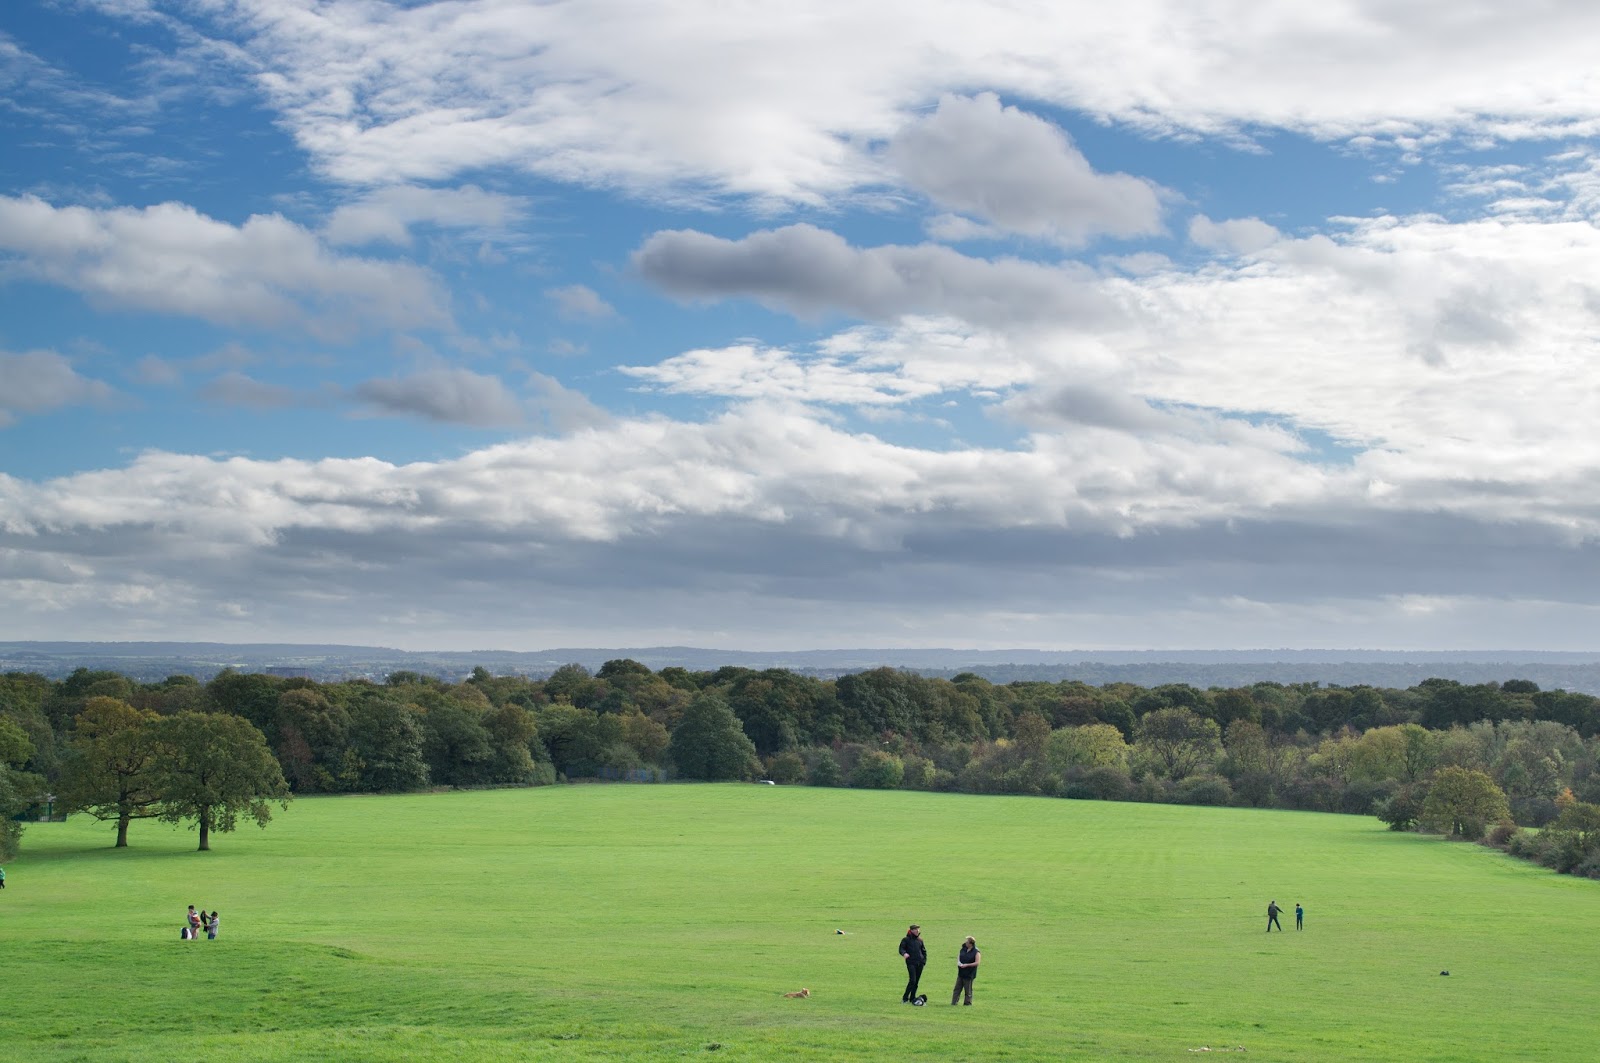
| Photograph 1 (Exposed for the Land) |
Merging two photographs together to produce a natural composite of the two, with greater dynamic range than either photograph would have by itself, was a part of digital photography I had been interested in for a while now. This was mostly because it more closely resembled any given scene where the dynamic range was higher than considered average, which the human eye would be able to register. This was in contrast to the photographic medium where a single exposure (especially on digital) would not. This was an example of how a photograph could capture a moment in time, which resembled something easily recognisable by humans but that actually defied a camera's physics of limited dynamic range, all in an attempt to make the photograph more believable to the viewer. I would be aiming to make photographs which tried to play with reality rather than replicate it, most probably through similar kinds of techniques in future projects. Therefore I was pleased to find I would be experimenting with this kind of processing in an exercise.
 |
| Photograph 2 (Exposed for the Sky) |
I chose a slightly different approach to merging the lighter and darker exposures than as that suggested. This approach namely involved the use of a gradient on a layer mask. Initially, my reasoning for using this approach was that it would provide a quicker and more seamless result to that of erasing the over-exposed sky (Photograph 1) and pasting the well-exposed sky (Photograph 2) in its place.
 |
| Photograph 3 (Photograph 1 and 2 Blended) |
Another reason I favoured this approach was that it could be adjusted easily afterwards by either redrawing the gradient in the mask and/or painting on the layer mask to ‘mask out’ any horizon discrepancies. However, because the horizon was so flat in this case that step was not necessary.
 |
| Photograph 4 (Dynamic Sky) |
When I was satisfied with the appearance of this composite I attempted to replace the entire sky from a sky taken within a few seconds of the landscape-exposed image to a sky captured three years ago (Photograph 4). Firstly, I was quite skeptical about the ethics and indeed the believability for any prospective viewers, that I could foresee in replacing a vast amount of an image with something taken at such a radically different moment in time. While I remained unsure about the ethics surrounding creating a composite like this, I appreciated that the end result did appear much more dramatic and even impressive than the pretty unremarkable, well-exposed sky that was taken a only few seconds after the well-exposed land segment of the image, which had come together in Photograph 3.
The end-result (Photograph 5) was again achieved through using gradients but this time, because the (much more impressive) clouds were so low to the horizon, I had to employ an additional technique in order to make the horizon and clouds blend into one another well. This technique was namely dodging, which I performed on a separate neutral-grey layer with soft-light blending on top of the clouds layer (with a clipping mask applied so only the clouds were affected). I used this method for dodging as it provided me with the opportunity to amend the intensity of the dodging if I so wished afterwards. Another technical detail was 'masking out' some of the cloud details that were just present in the grey transition between the black and white gradient on the layer mask. This was also because the cloud formations were so low to the horizon. All this meant the process wasn't as quick and easy as adding in the first cloud-exposed image but I found the extra steps included were necessary to make the clouds from Photograph 4 fit in more believably.
 |
| Photograph 5 (Photographs 1 and 4 Blended) |
No comments:
Post a Comment