 |
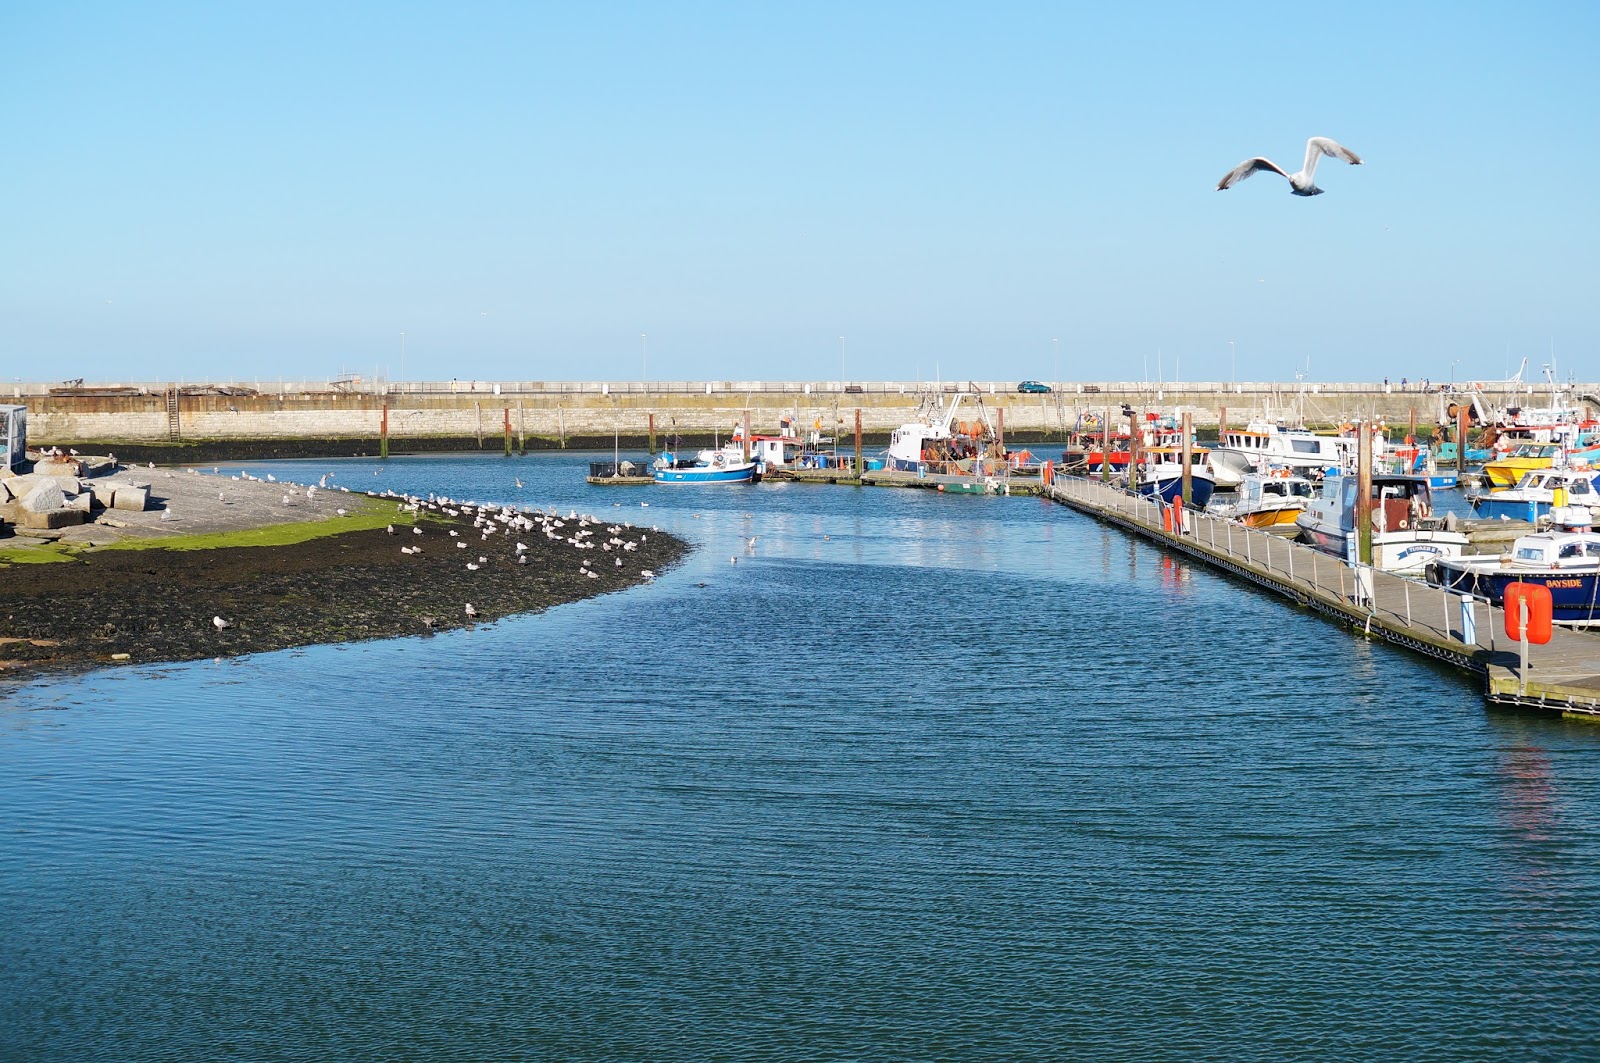
| 1. Unedited jpeg Landscape Shot |
Before progressing with 'Processing the Image' I had always carried out optimising the image in a fairly amateurish fashion; namely judging all exposure parameters by eye. While I now realise this is quite acceptable for the mid-tones of an image, I've since found using the histogram and especially the black and white clipping points on either side of the histogram helps greatly when asserting how to optimise most images.
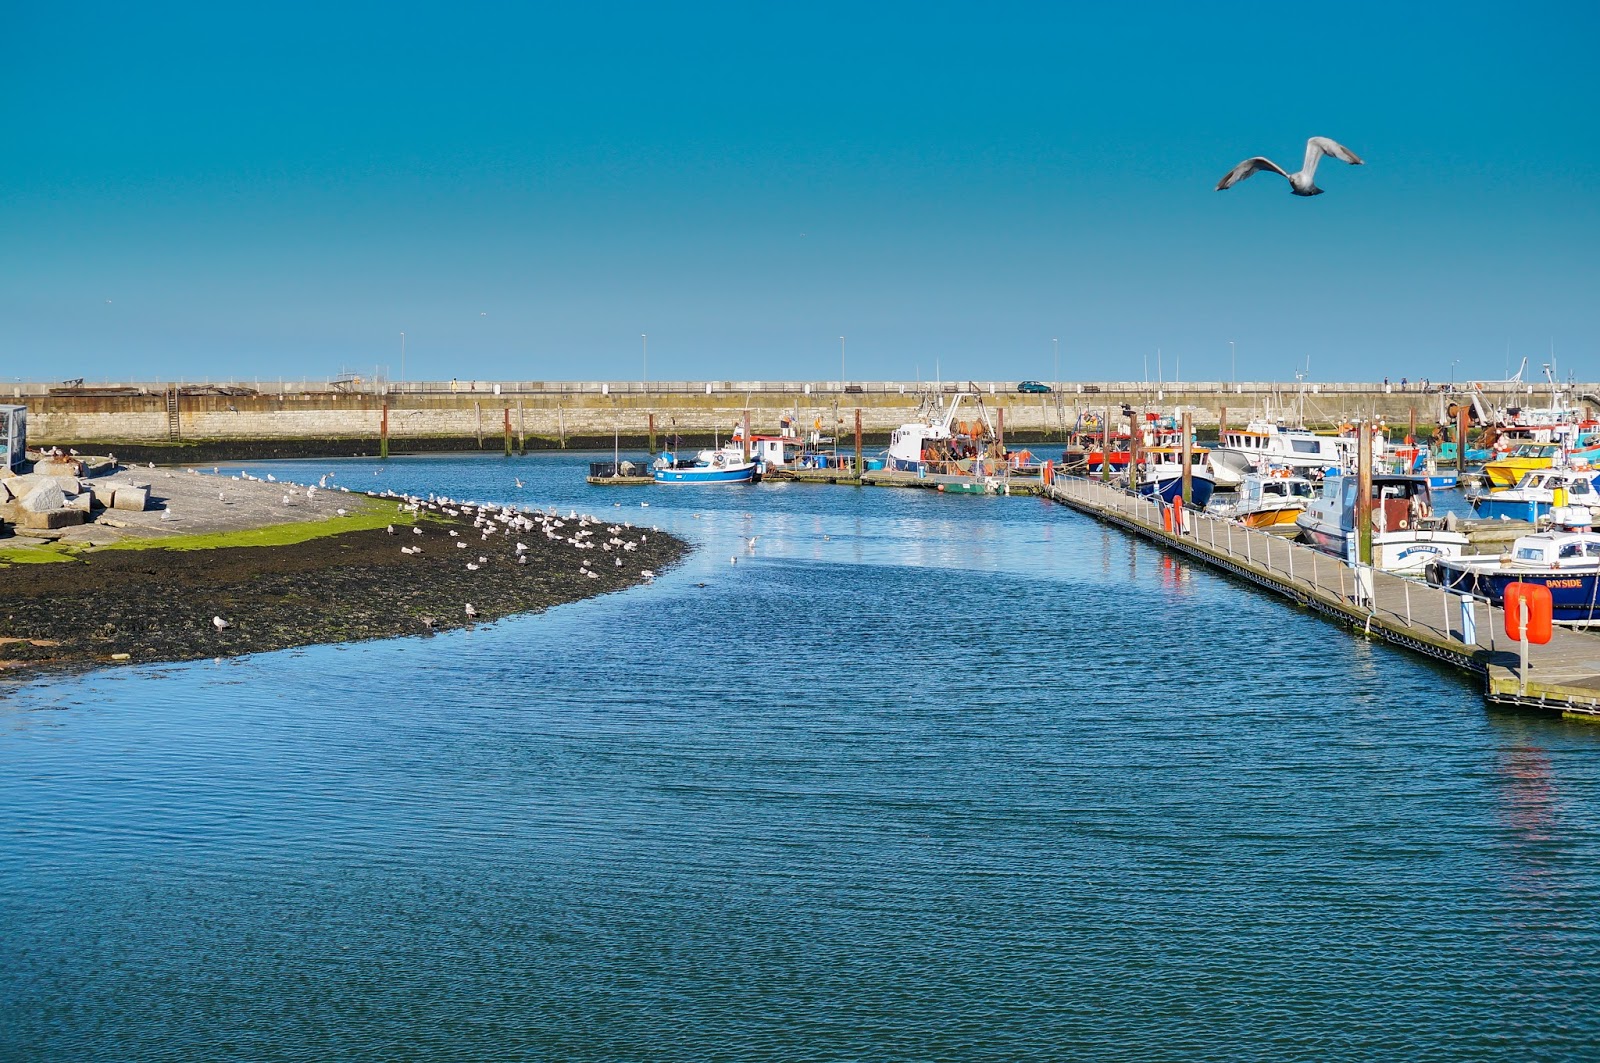 |
| 2. Optimised jpeg Landscape Shot |
Incidentally, I found a useful trick when adjusting the black and white clipping points on an image: while holding down the 'alt' key when adjusting either the 'blacks' or 'whites' sliders in either Photoshop or Lightroom, a visual representation appears. This lets you discern critically when any clipping occurs. I've found most images I edited were optimised 'best' when the blacks and whites were just non-clipped.
I also calibrated my monitor's colour, gamma and white point settings so I could make informed judgements on whether the mid-tones were too bright, dark or contrasty. The calibrated monitor made me confident I was finding the desired black and white points. I made sure the ambient lighting was similar to that of the monitor display.
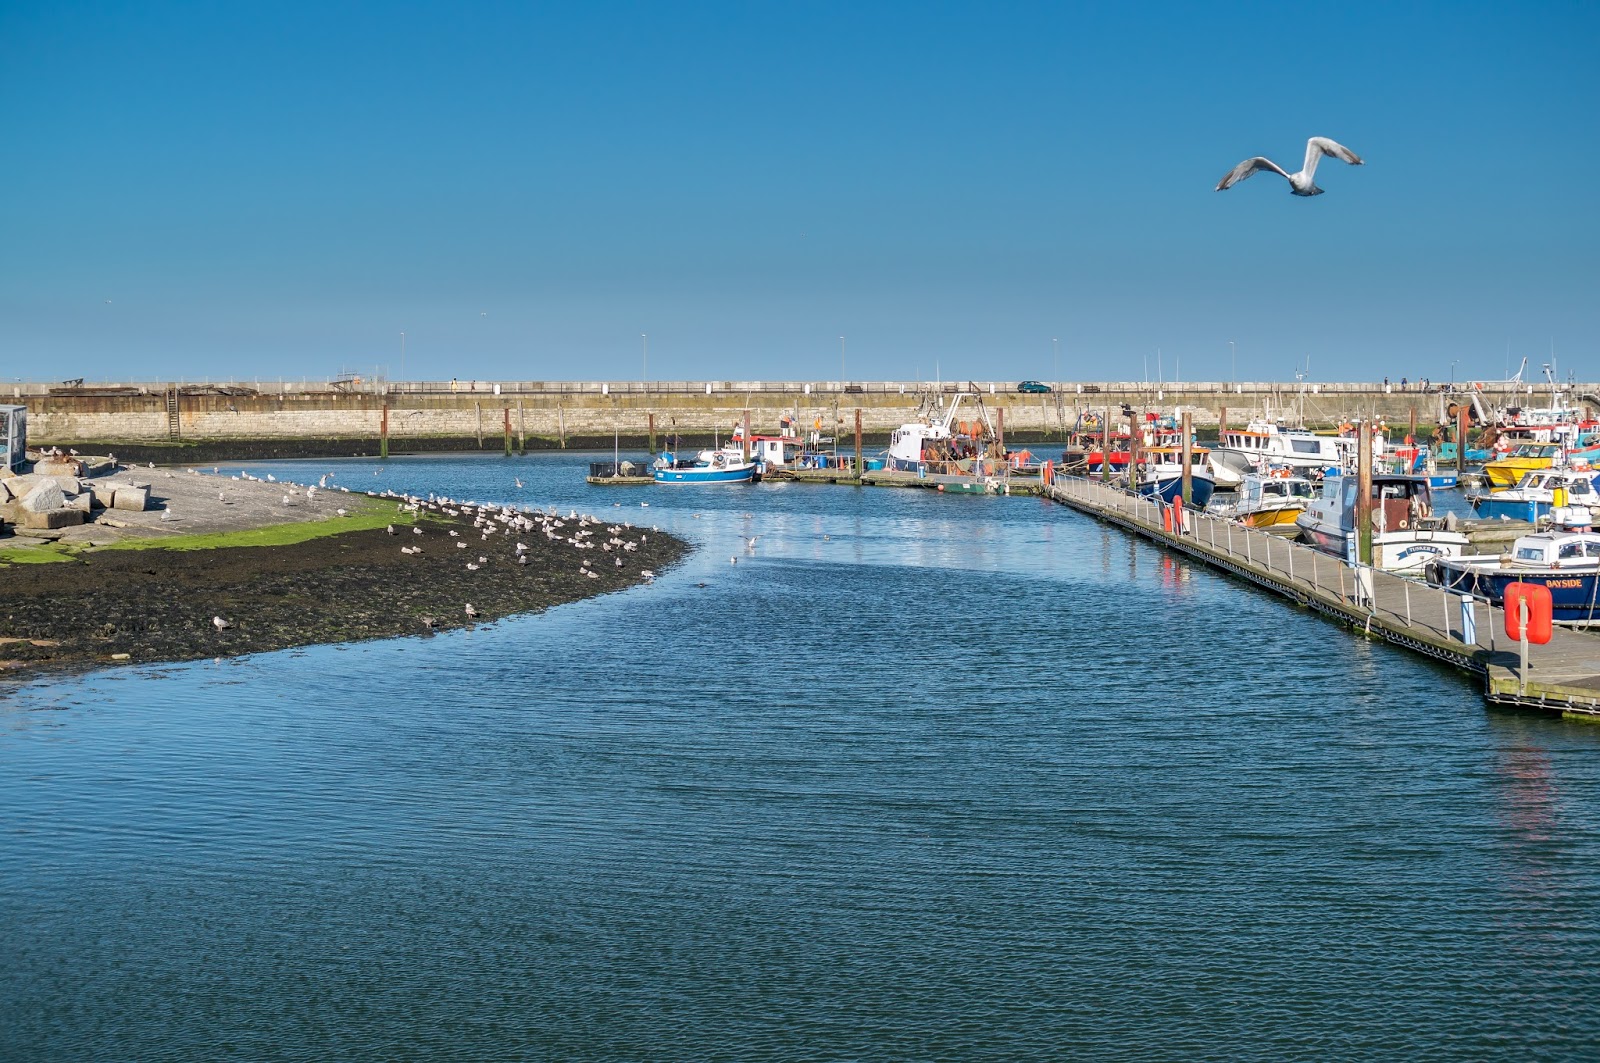 |
| 3. Optimised RAW Landscape Shot |
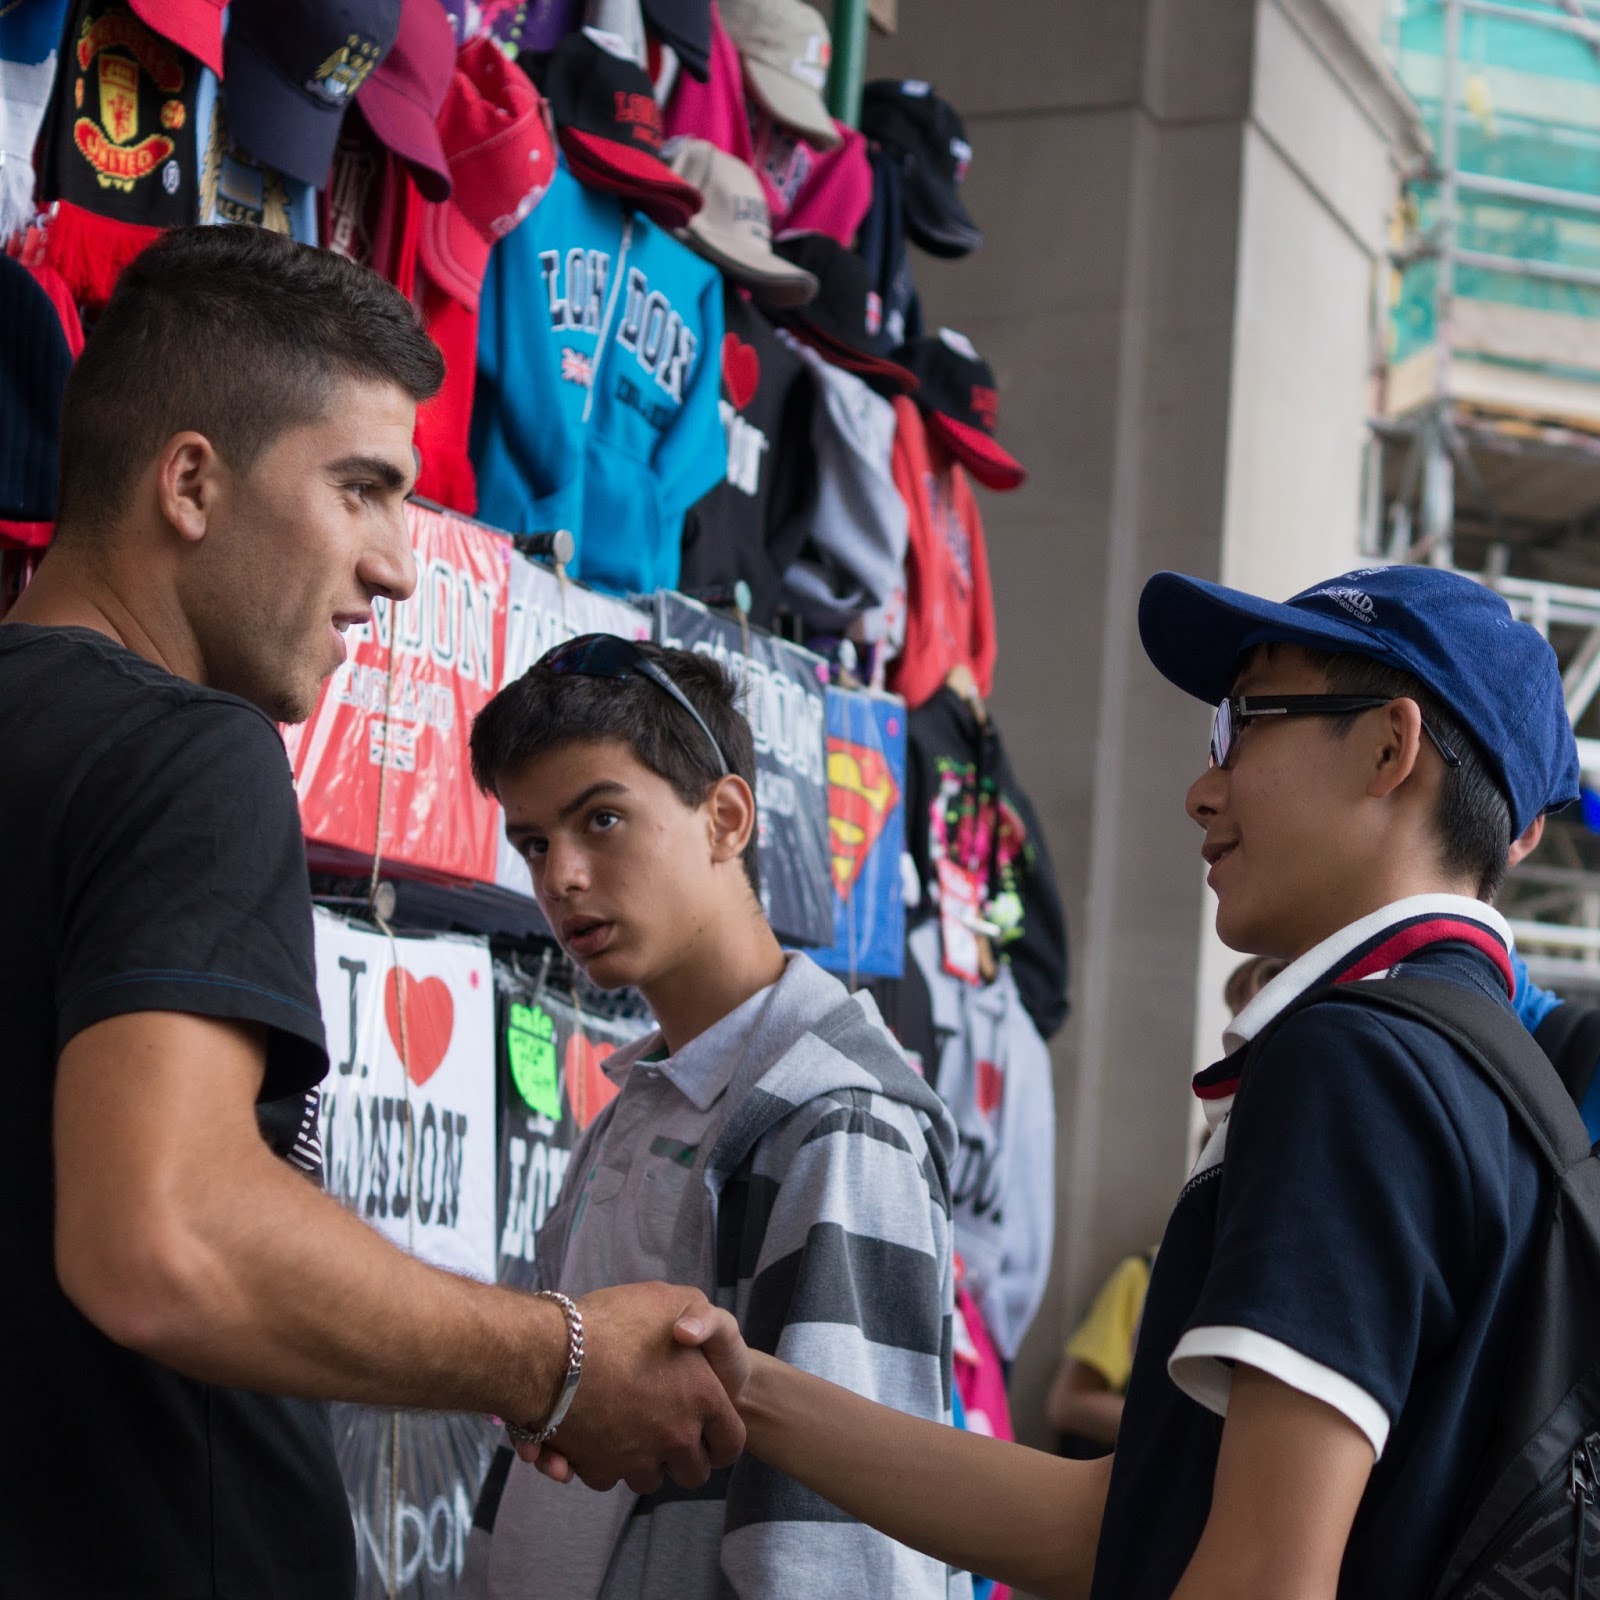 |
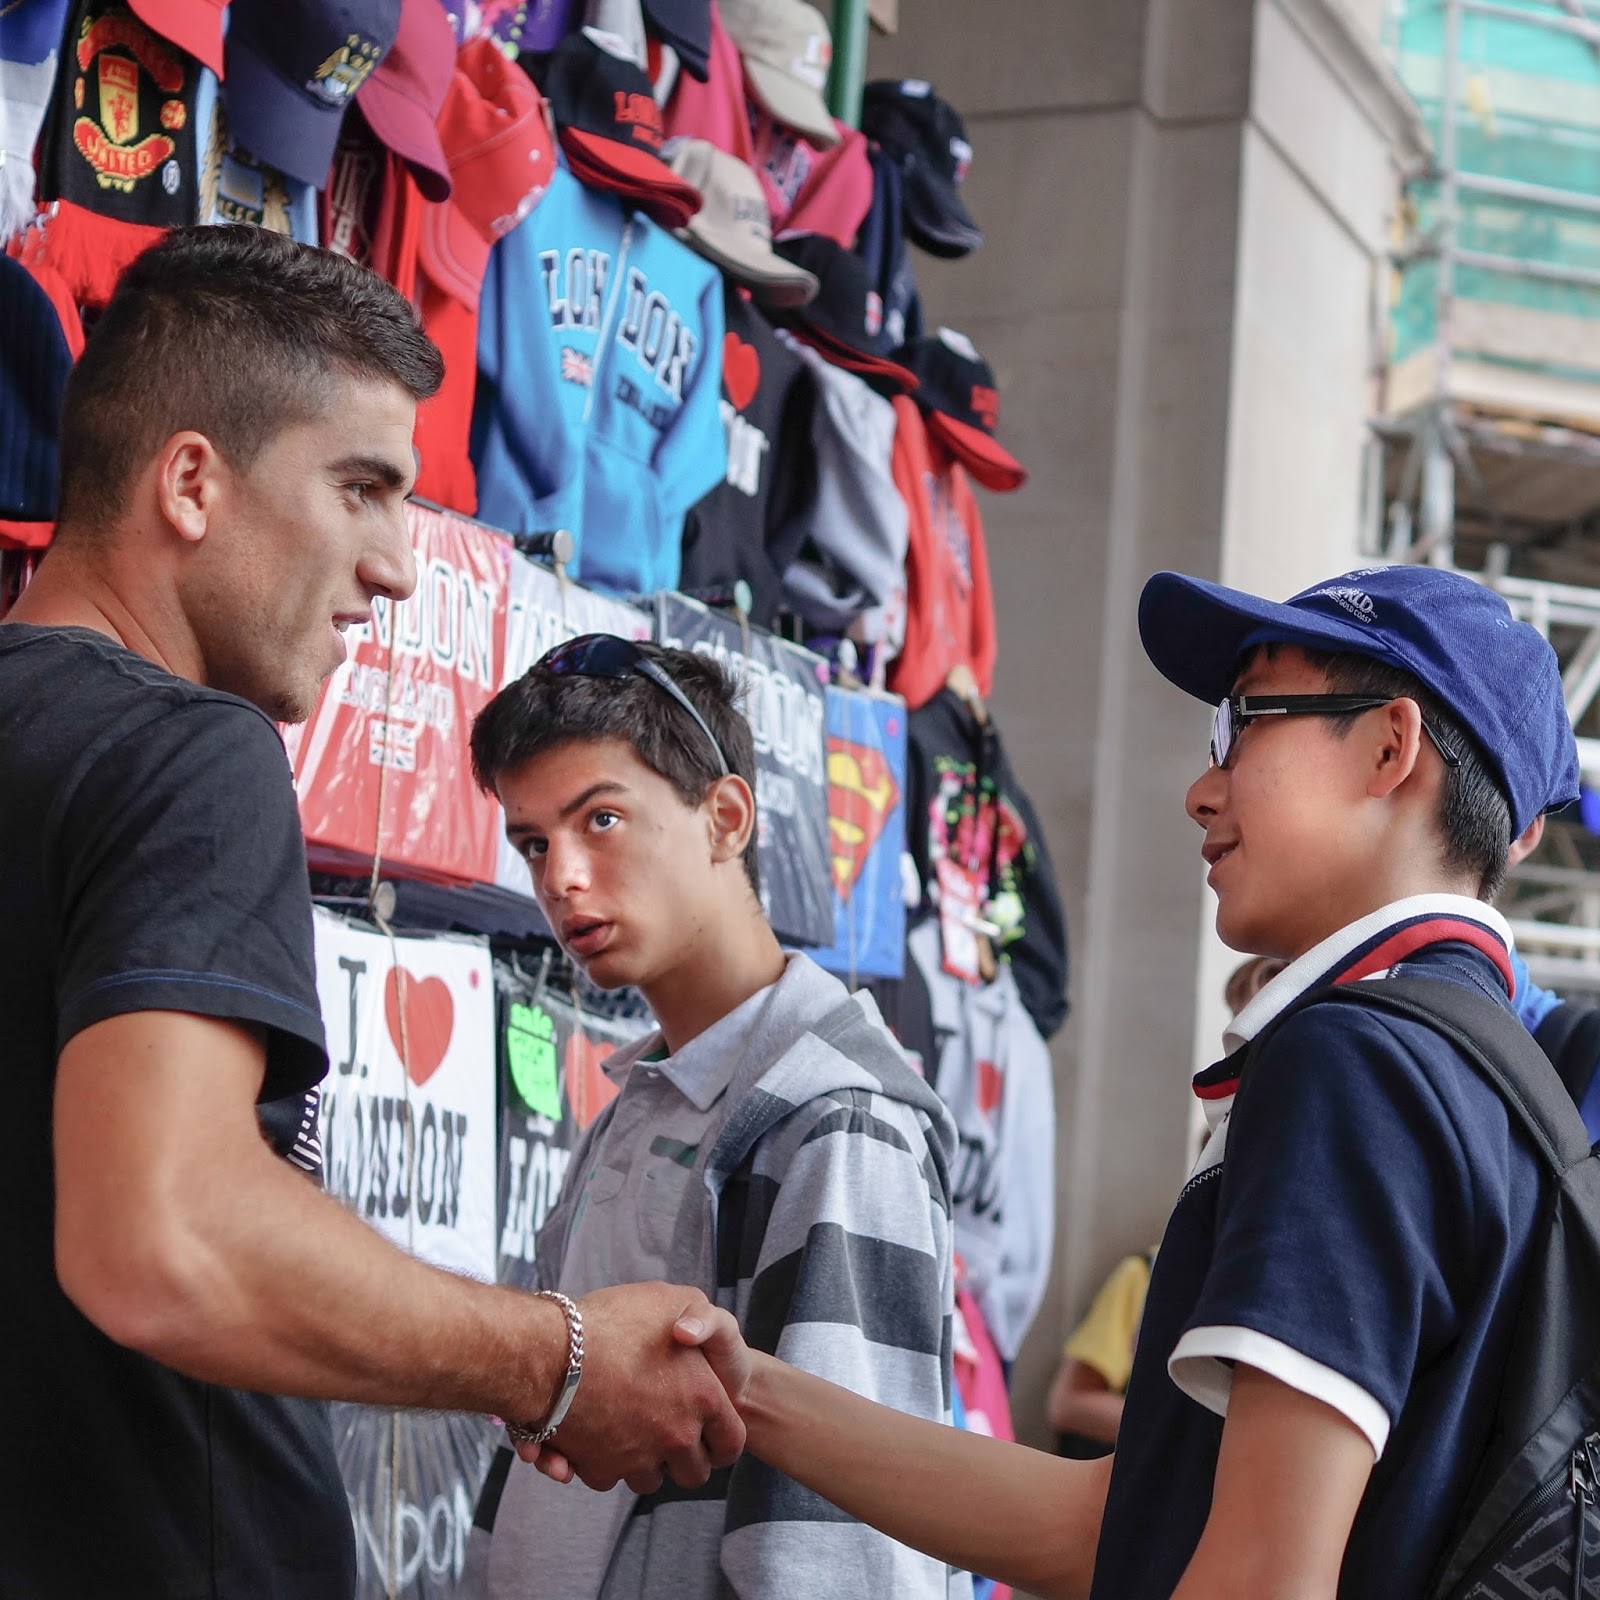
| 4. Unedited jpeg Street Photograph |
I decided to use both a landscape (1, 2 and 3) and a street photograph (4,5 and 6) image as I considered them to be quite different in the way they could be processed. For example there were a few large local adjustments I thought would benefit the landscape image, while the street photograph required smaller changes. In the end the major local adjustments I made were: a graduated filter to darken the sky for the landscape shot and an adjustment brush to dodge the people's faces in the street photograph. I applied similar changes to both the jpeg and RAW versions.
 |
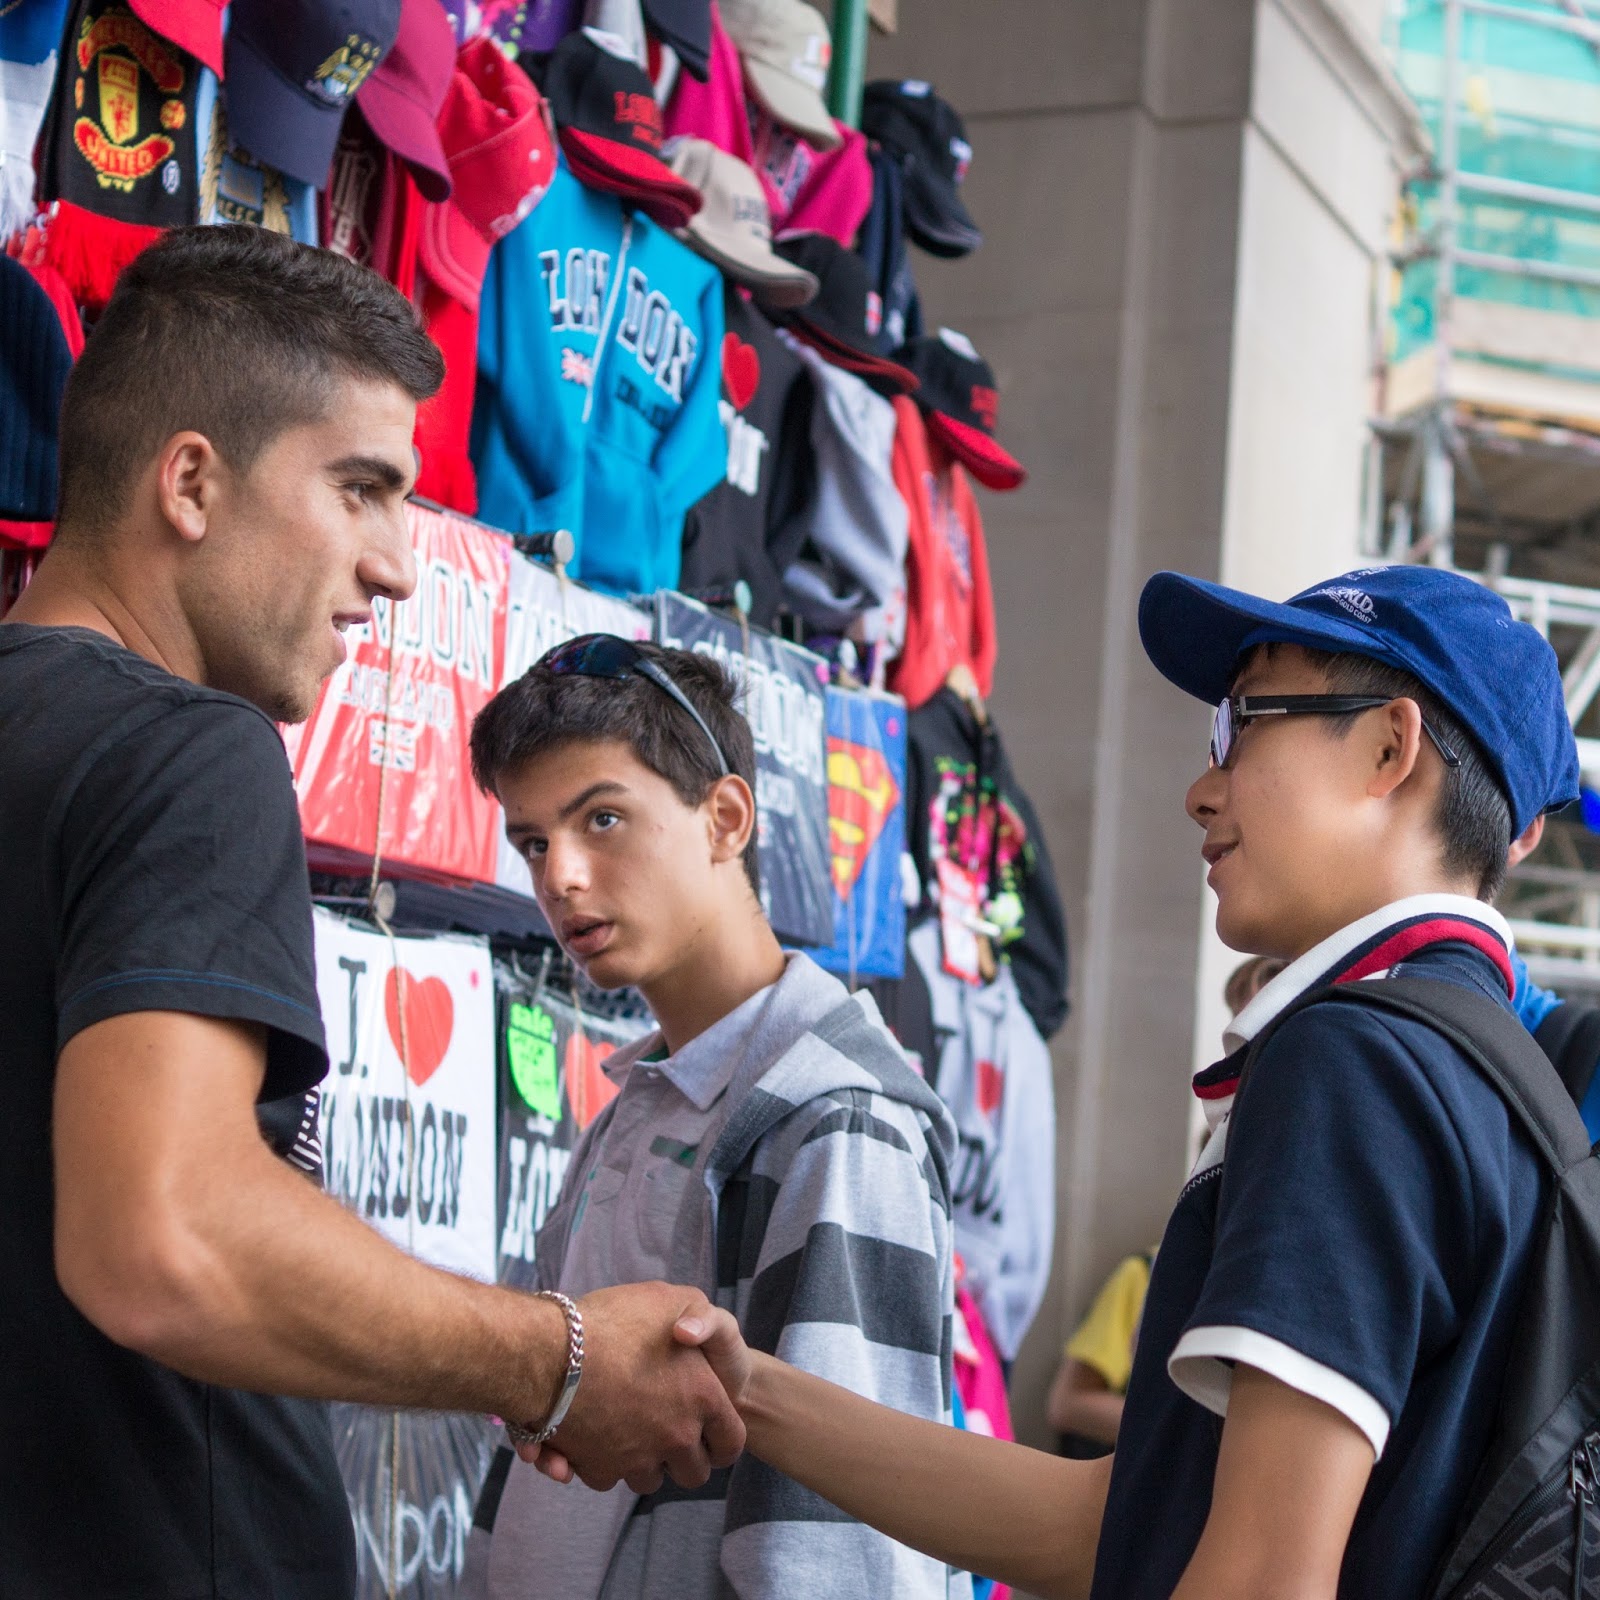
| 5. Optimised jpeg Street Photograph |
Although the changes I made seemed quite minute at the time, comparing them back to the originals, particularly the landscape example, the overall change was quite dramatic. Also the jpeg versions I processed stood up well to the changes I made. For example with the landscape photo example, with the graduated filter adjustment to the sky there was a little more noise in the jpeg version (Image 2) but this was cleared up easily by increasing the 'noise' slider in Lightroom. However, the exposures I made were not badly exposed in the first place. The processed street photograph versions possessed more life than the unprocessed form, which showed me that optimisation was indeed important.
Finally, the jpegs were naturally more 'punchy' for both, probably because of the in-camera jpeg processing/settings, while the RAW files were more 'lifelike' after processing. This was particularly the case with the street photograph so it would be prudent I felt to shoot with less contrasty settings, if I was shooting in the jpeg format, street photographs or similar.
 |
| 6. Optimised RAW Street Photograph |
No comments:
Post a Comment